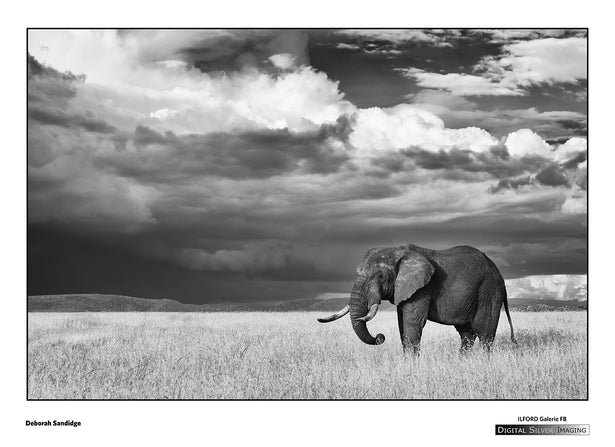
Andrea Zocchi is the Marketing and Promotions Manager at Digital Silver Imaging (https://www.digitalsilverimaging.com/ ) in Boston, Massachusetts. He studied photography at the Rhode Island School of Design and Knox College and is an author, a former publisher, graphic designer and art director. His extensive experience in photography and printing makes him an excellent resource for beginning to understand the challenges of photographic printmaking.
Andrea: Ansel Adams said, "The negative is comparable to the composer's score and the print to its performance." In the world of digital photography, the performance is often overlooked. However, with the control afforded by digital capture, excellence in black and white digital printing is now more attainable than ever. I hope to give some simple guidelines to help the photographer create excellent black and white digital prints.
The superior choice for black and white printing is a hybrid digital-to-analog silver gelatin process, like the one we use at Digital Silver Imaging (https://www.digitalsilverimaging.com/ ). The next best option is a quality inkjet print using the latest inks and media. When properly executed, both processes are archival and in the case of the silver gelatin print there is never a colorcast. Eliminate any output using chromogenic prints (C-prints) and digital C prints (Lambda, Lightjet, and Chromira prints). These printing materials are designed for color use and are not lightfast. In addition, they tend to have a colorcast making it very difficult to create a body of work that looks consistent. Once you have decided on your printing method, it is imperative that you adhere to the following guidelines for the best results.
1. ALWAYS SHOOT IN RAW
Simply stated, RAW gives you control over white balance (yes this is important for black and white), sharpening (most images are over sharpened), contrast, saturation, and bit depth. If you shoot in a JPEG or TIFF mode, your camera is making those decisions for you. How about the "black and white mode" on my camera, you ask? That mode is for convenience not quality. RAW gives you the best tonal transition, the maximum amount of data and control, which is what you need to create a truly great B&W print.
2. CALIBRATE, CALIBRATE, CALIBRATE!
It is essential that your post-production work is done with a calibrated monitor. X-Rite makes very affordable and easy-to-use calibration tools to insure what you see is what you get. If your printer of choice is Digital Silver Imaging all you need is a well-calibrated monitor, our digital/analog hybrid process uses light on real black and white photo paper. If the tonal range is in your image file, then it will be in the print. Inkjet processes are a little more complicated. After your monitor is correctly calibrated, you have to load the correct ICC profile to match the printer and paper type you will be using. An ICC profile is the color space of a given ink set and paper. Your calibration device and software will give you instructions on how to load a specific ICC profile.
3. PRESERVE RGB INFO WITH GOOD BLACK AND WHITE CONVERSION
We use Nik Software’s Silver Efex Pro (https://www.digitalsilverimaging.com/nik plug-in for all our conversions at Digital Silver Imaging. Silver Efex Pro preserves all the RGB information and creates beautiful files with amazing tonal range. The next best option is doing the conversion in Adobe Photoshop using the Channel Mixer or another method that preserves all three color layers (RGB). Never use "Convert to Black and White" or simply "Desaturate." Both of these methods produce images with limited tonal range, producing inferior results. You can find many recipes online for using Adobe Photoshop to convert images, but again I recommend Nik Silver Efex Pro. It saves a lot of time and yields amazing results. Silver Efex Pro also works with Adobe LightRoom and Aperture.
4. CHOOSE A QUALITY LAB OR INKJET PRINTER
The gold standard in black and white is a real silver gelatin print, so consider trying the true analog printing process at Digital Silver Imaging with a chemical based silver gelatin print from your digital file. However, if you plan to have your prints produced on a professional inkjet printer use only pigment inks like Epson’s HDR inks and archival paper.
Follow these simple steps and you will be half way to producing an excellent black and white digital print. The other half is starting with a good digital image, so get out there and make some photographs!
Stay connected to Andrea at Digital Silver Imaging: Website | Blog | Facebook | Twitter
RELATED ARTICLES
Digital Workflow eBook Updated for Lightroom 4.1 and Photoshop CS6
Why Shoot With a Prime Lens?
How Do I Clean My Sensor?


