One of the most rewarding types of photography is night sky or astrophotography. Although, it is not the easiest type of photography, it arguably can be the most gratifying when you wait 20-30 seconds for your shutter to go *click* and see the image appear on your screen of the beautiful night sky.
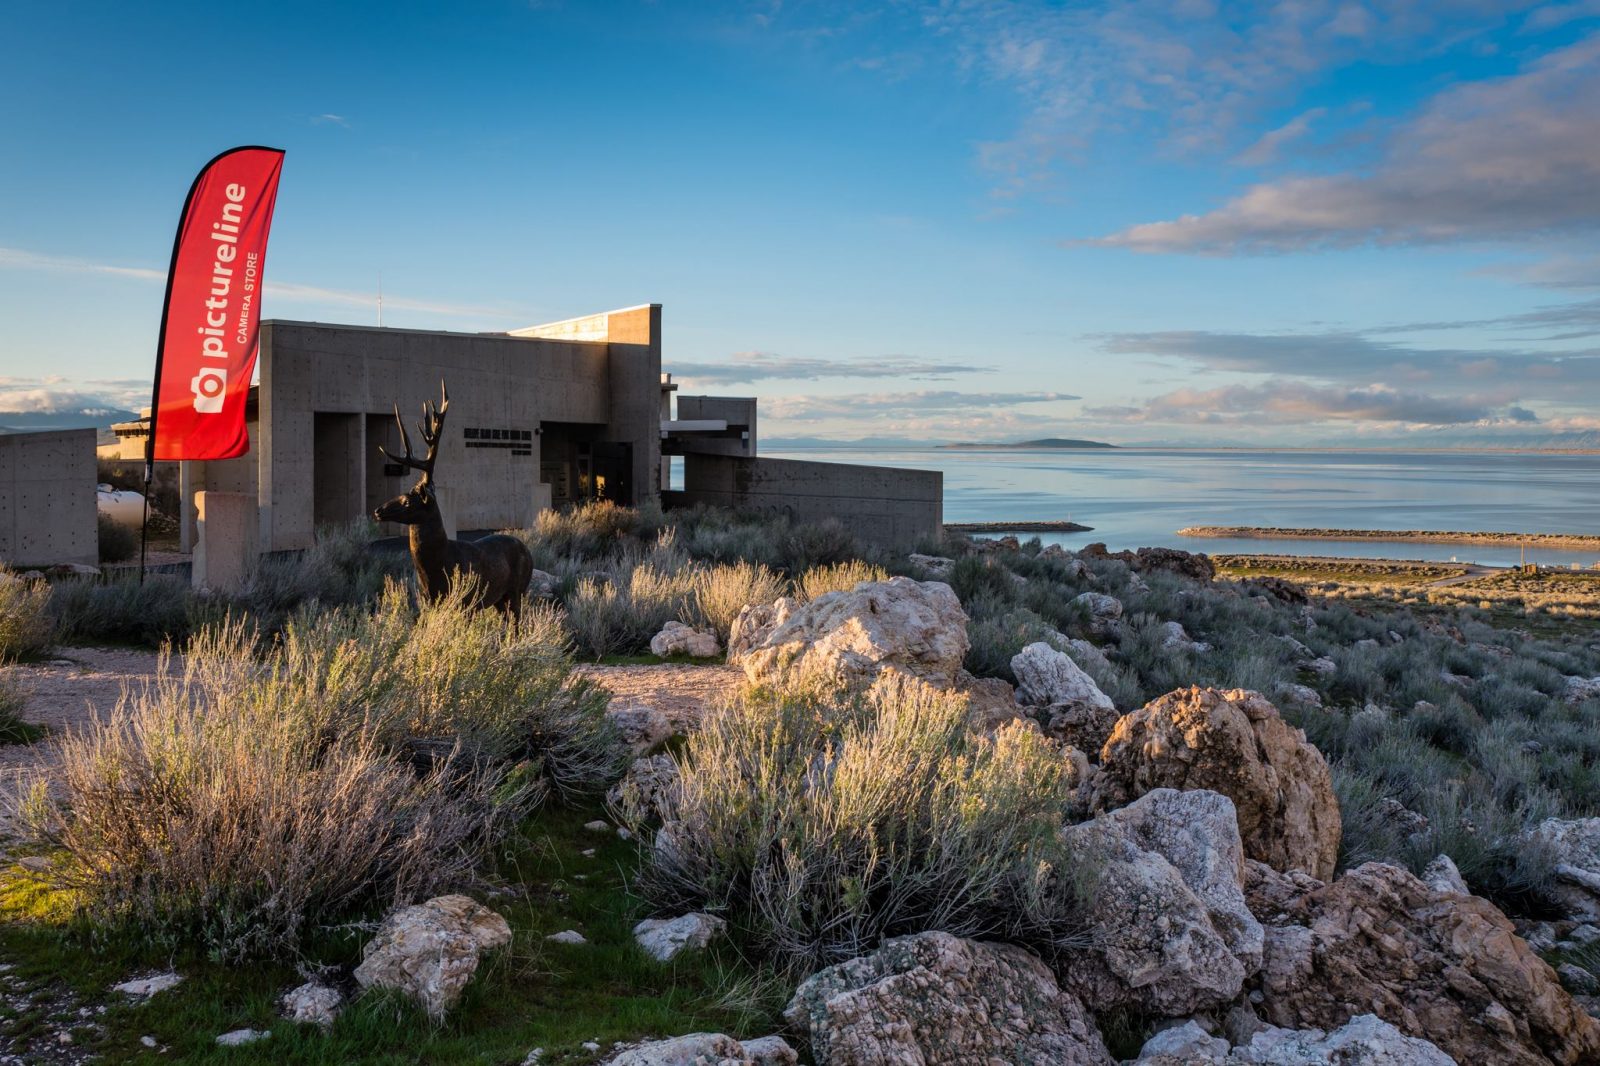
We had the pleasure of putting on a Night Sky Photography Workshop this past weekend at Antelope Island State Park. All day, we checked the weather reports and stared at the sky as we waited for the storm to pass. We lucked out just as the workshop began and witnessed the clouds part moments before sunset, revealing the sun dip down past the horizon and beautiful mostly-clear skies.
Duke Johnson from the Clark Planetarium put on a great presentation for all that attended the workshop. After Duke gave some tips on how to get great images, we headed outside to put his tips to use! All of the images you see here were created that night!
 Here are a few main points from Duke's lesson for those who weren't able to attend:
- Always dress warmer than you think you'll need to! Night sky photos require some long-exposures, and some serious patience. You don't want to be calling it quits five-minutes in because you're too cold!
- A standard rule-of-thumb as far as settings go: 25 second exposure, f/2.8, ISO 1600 are approximately where you want to set your camera. However, these settings will need to be adjusted depending on your location and lens type. The wider-angle your lens is the slower you are able to adjust your shutter speed without seeing movement in the stars. It is always good to take your first initial shot with a really high ISO level so you can check your composition, and from there bring it down little by little until you hit the sweet spot. If your lens enables you to bring your aperture wider than 2.8, you may want to play with that a bit because often times 2.2 can be the perfect f/stop.
- Always use a tripod! If you don't have a tripod try setting your camera on a rock or prop it up on something sturdy and use your self-timer mode on your camera, you won't be able to get the high-quality images you're looking for by hand-holding your camera.
- Lastly, don't try shooting star photos when there is too much light around. With too much light you won't be able to capture the detail of the stars. Even a full or half moon can take away from the image.
 Pictureline will be doing another Night Sky Photography workshop this summer! Stay tuned on our website at https://www.shoppictureline.com/collections/all-classes for more information.
P.S. For all who were able to attend the event be sure to post your images on instagram and tag @pictureline and use the hashtag #picturelinenightsky and you'll be entered into a drawing for a year's pass to all of Utah's State Parks!


