

Many photographers are trying to set themselves apart by creating new looks. Many go with loud software effects which are many times tired and overused. Software effects can sometimes be helpful, but it is much better to create your looks and effects in-camera. Doing so not only makes for more clean and realistic images, but also saves you a ton of time later in the computer.
Rogue has a line of flash gels which I recently tested. They are pre-cut gels that come in a nice carry pouch and connect to your flash with an included heavy duty rubber band.
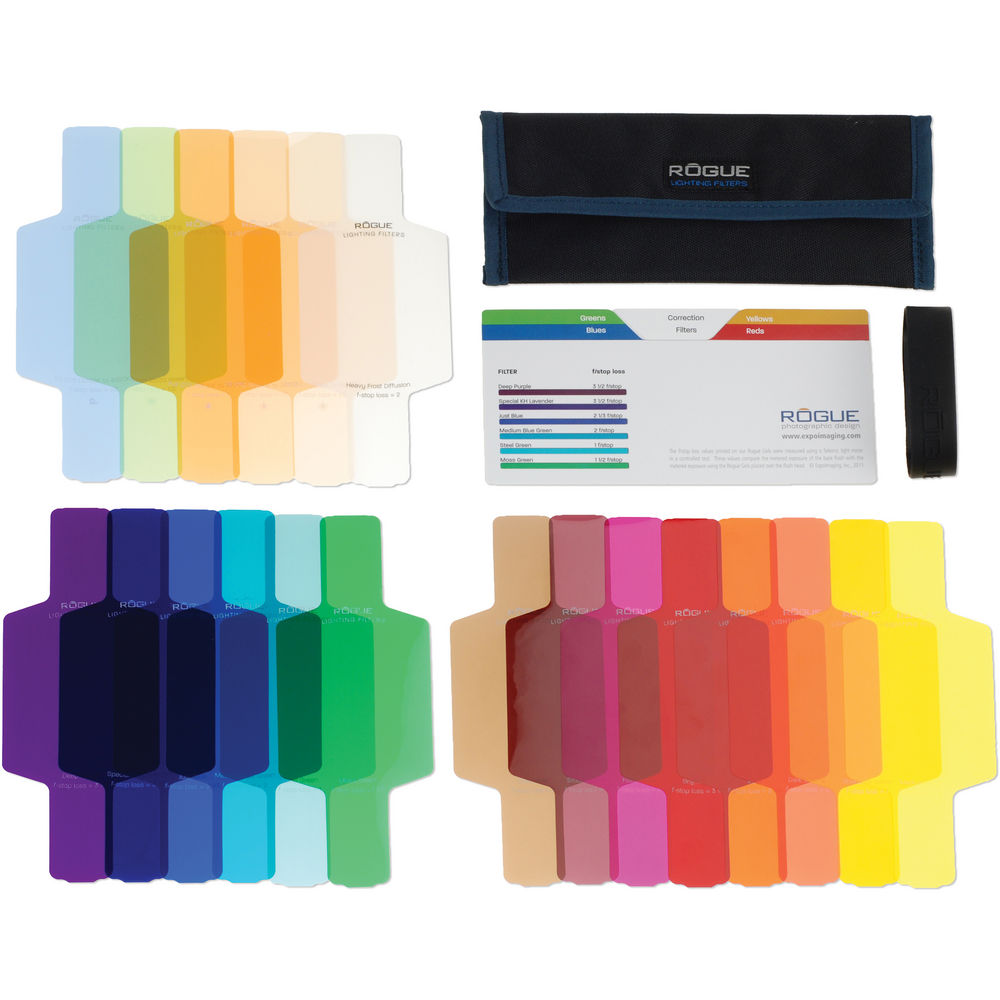
The normal way you may think to use these would be to create colored flashes to add emphasis to parts of an image. For instance you could turn a wall red behind someone, or mix colors for a dance club type look.
However when I tested them, I used them in a different way. I chose to use them on my main light for portraits, and corrected for them by creating an in-camera custom color balance so that the skin tones would look normal but the background would go the opposite color.
For example, here is the location I used as a background. I shot this first image using a custom color balance based on the sun. The result is a clean blue sky and perfect greens. The image is scene accurate.

I then added my model and set up my flashes with a warm gel. I created a custom color balance for that gel, used manual exposure and flash outputs, and the result is this image below. Notice that skin tones remain normal and the background went cool, the opposite color of the gel. Now my sky is even more blue and the greens are a deep blue/green.

Using the same manual settings, I changed only my gel color and custom white balance. I went with a cool gel so that I’d get a warm background. Notice the difference. It appears as if I’m shooting at different times of day and getting different looks. Right in the middle of the day, I was able to create in camera, the look of early sunrise or sunset, while keeping great skin tones.


Then I went with a green gel and got a magenta background. The magenta and blue combine for a more purple sky, and the purple flowers in the meadow are accentuated.

I continued this process to create all of the following images, all with custom white balances set to the gels.

Again, with every photo shoot, all of my settings are manual. As photographers, we only have five settings to think about and set: f/stop, shutter, iso, white balance, and flash.
Everything else on the camera is an auto function trying to make those five things seem easier for new photographers – but in actuality, it many times makes things more complicated. One of the most common complaints I hear from photographers is that they are frustrated with their image results – they don’t know why the auto functions don’t see things the way they want.
Instead, separate yourself by learning and picking your five settings on every shot. Doing so means that you get to decide how your photo will look. Start with envisioning the best possible image from where you are standing, then work backwards to choose the settings that will give you that result.
For me, I wanted a warm sunset look, even though the sun wasn’t low and warm. So instead I created that look with flash gels.


At the end, I took the model into a group of trees for one more image that resembled sunrise or sunset.

By setting everything manual, there is almost zero computer work done to any of these images. None of these images have been color corrected, lightened, darkened, etc.
If you’d like to see my entire workflow on these images in both Adobe Lightroom and Adobe Photoshop check out my website for photographers, BryCoxWORKSHOPS.com. The video article is called "Quick Digital Workflow and Processing of ‘Gel Flash’ Images."
Good luck and happy shooting!
KEEP UP WITH BRY: Website | BryCoxWORKSHOPS.com | Blog | Facebook